
Handing over the keys to a rental property is an exciting milestone, but it also comes with significant financial responsibility. For self-managing landlords and property managers, protecting the physical asset is a top priority. Without a clear, documented record of the property's condition at the start of a lease, proving that a tenant caused damage beyond normal wear and tear becomes incredibly difficult.
A comprehensive move-in checklist acts as a shared record between you and your tenant. It establishes a baseline of the property's state, setting clear expectations for how the home should be returned at move-out. By taking the time to detail every room, fixture, and appliance, you lay the groundwork for a transparent, professional landlord-tenant relationship.
Before you step foot in the rental, decide how you will document the inspection. While traditional paper forms work, digital checklists on tablets or smartphones are increasingly popular. Digital tools allow you to easily attach high-resolution photos directly to specific line items, reducing the risk of lost paperwork.
Whichever medium you choose, ensure it is easy to read, organized room-by-room, and provides ample space for both landlord and tenant comments.
To avoid missing minor details, organize your checklist sequentially as you walk through the property. Start at the entryway and move systematically through the living spaces, kitchen, bedrooms, and bathrooms.
For each room, create standard sub-categories to inspect. This ensures you evaluate recurring elements like walls, flooring, outlets, and windows in every single area of the home.
Kitchens and bathrooms are the most expensive areas of a rental property to repair. Consequently, they require a deeper level of inspection. You must verify that all major appliances are clean and functioning, and check for any signs of active or historical plumbing leaks.
Don't just look at things—test them. Turn on burners, run the dishwasher through a short cycle, and turn on faucets to check water pressure and drainage.
It is easy to focus solely on the interior, but the exterior and mechanical systems of your rental are equally vital. Documenting the condition of HVAC units, water heaters, and outdoor spaces protects you from costly disputes later on.
Note the condition of patios, decks, and landscaping. If the tenant is responsible for lawn care or snow removal under the lease, establishing a baseline of these areas is particularly important.
Written notes are essential, but visual evidence is indisputable. Always accompany your written checklist with comprehensive photographs and, if possible, a walk-through video. Date-stamped media provides a clear timeline of the property's condition before the lease start date.
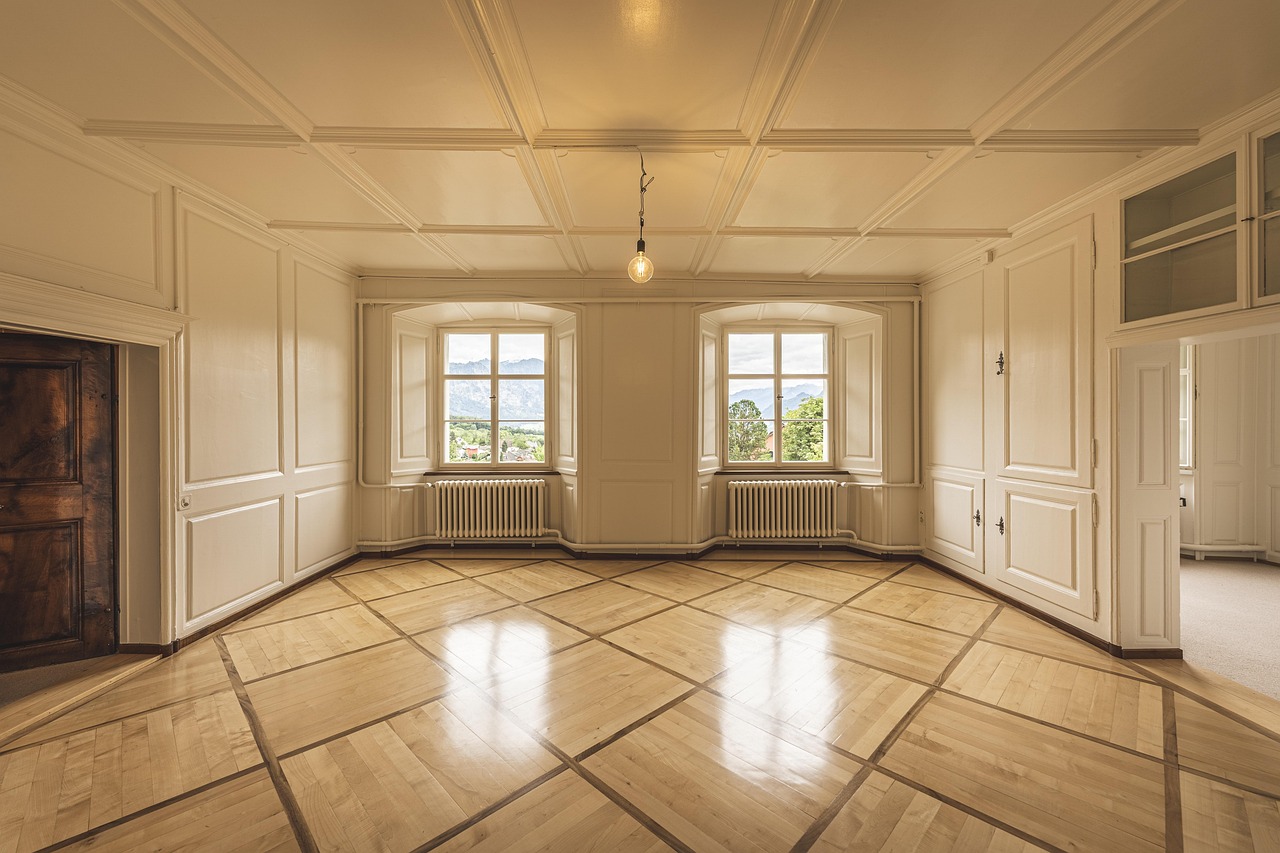
Capture wide-shots of entire rooms to show overall cleanliness, followed by close-up shots of any pre-existing damage, such as a chipped countertop or a cracked tile. This prevents tenants from being held responsible for prior wear and tear.
Whenever possible, perform the move-in inspection alongside the incoming tenant. This collaborative approach builds trust and ensures both parties agree on the recorded condition of the property. It also gives you an opportunity to explain how to operate specific appliances or locate the main water shut-off valve.
If a joint walkthrough is impossible due to scheduling, complete the inspection yourself and provide the tenant with a set number of days to review, add their own notes, sign, and return the document.
Landlord-tenant laws vary significantly by state, province, and city. In some jurisdictions, conducting a move-in inspection and providing a signed copy to the tenant is a legal requirement to withhold any funds from a security deposit in the future.
Always consult local statutes or a legal professional to ensure your checklist and inspection process comply with regional standards. Keeping accurate, dated records is not just good business—it is often a legal shield.
Creating a detailed move-in checklist might seem like an extra administrative burden during a busy turnover period, but it is one of the most cost-effective habits you can adopt. It minimizes misunderstandings, streamlines the move-out process, and protects your financial investment from unwarranted repair costs.
By combining a structured, room-by-room inspection with clear photographic evidence and a collaborative walk-through, you set a professional tone for the entire tenancy. Protect your property, respect your tenants, and ensure your peace of mind by making a thorough move-in checklist a non-negotiable part of your rental management routine.
Published on 9 August, 2026 by CyberLoft